Post Videos From YouTube to Instagram Like a Pro
Learn how to post videos from YouTube to Instagram with strategies that boost engagement. Our guide covers repurposing, editing, and scheduling for max reach.
FlowShorts Team
You can't upload a YouTube video directly to Instagram. YouTube doesn't have a "share to Instagram" button, and Instagram doesn't accept YouTube links as video posts. To post a YouTube video on Instagram, you need to download or re-export the video, reformat it for vertical viewing, and upload it as a Reel, Story, or feed post.
This guide covers the full process: downloading, reformatting, editing for short-form, writing captions, and choosing a posting workflow.
Step 1: Get the Video File
If it's your own video, download the original file from YouTube Studio (go to Content > select the video > Download). This gives you the highest quality source file.
If you're working with someone else's video (with permission), use the export from whatever editor produced it. Avoid third-party YouTube downloaders for content you don't own.
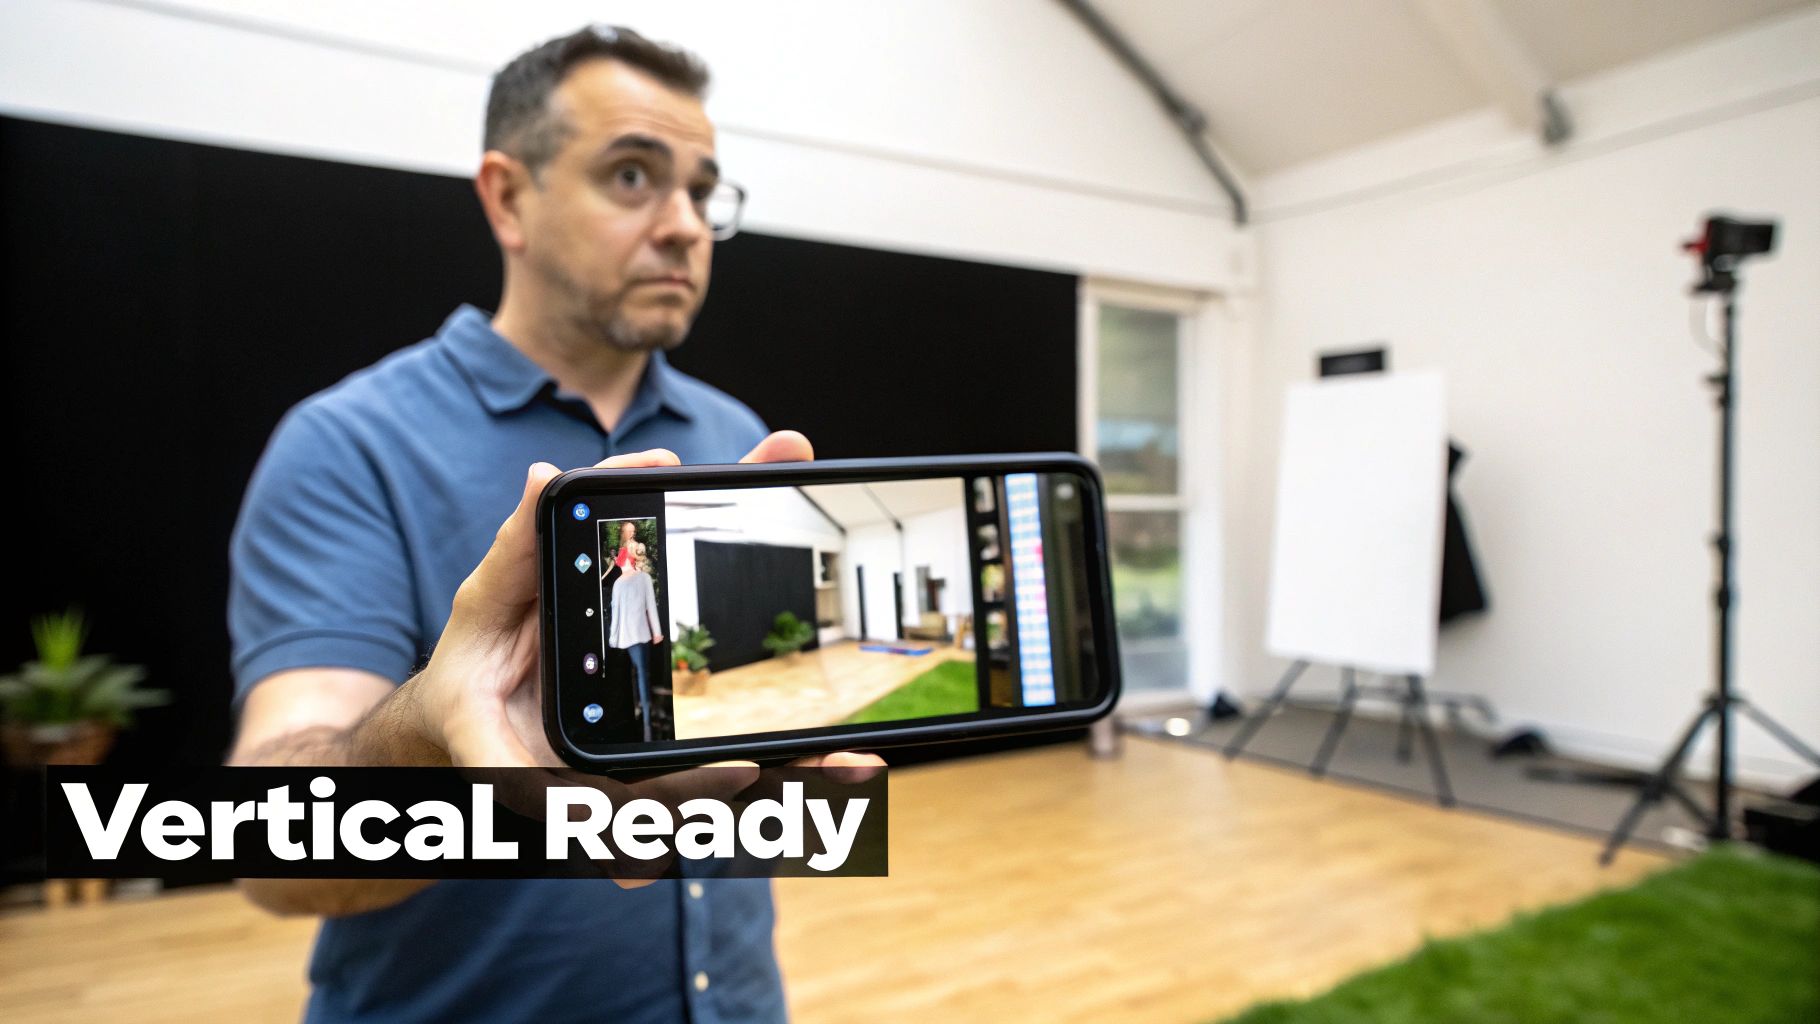
Step 2: Reformat for Instagram's Aspect Ratios
YouTube videos are typically 16:9 (horizontal). Instagram is a vertical-first platform. You'll need to convert your video to fit these formats:
| Spec | YouTube | Instagram Reels/Stories (size guide) | Instagram Feed |
|---|---|---|---|
| Aspect ratio | 16:9 (horizontal) | 9:16 (vertical) | 4:5 (portrait) or 1:1 (square) |
| Resolution | 1920x1080 | 1080x1920 | 1080x1350 (4:5) |
| Max length | 12 hours | 90 seconds (Reels), 60s (Stories) | 60 minutes |
| Format | .MP4, .MOV | .MP4, .MOV | .MP4, .MOV |
Don't just center-crop a horizontal video to make it vertical. That cuts out the edges of the frame, which often contain important visual information. Instead, reframe the shot so your subject stays centered in the vertical crop window. Most video editors (CapCut, Premiere, DaVinci Resolve) have an auto-reframe feature that tracks the subject and adjusts the crop dynamically.
Uploading a horizontal video to Reels without reformatting produces black bars on the top and bottom. It looks unintentional and signals to viewers that the content wasn't made for them.
Step 3: Edit for Short-Form
A 10-minute YouTube video can produce 3-5 standalone Instagram clips. The goal isn't to compress the whole video into 60 seconds. It's to pull out the best individual moments that work as self-contained pieces.
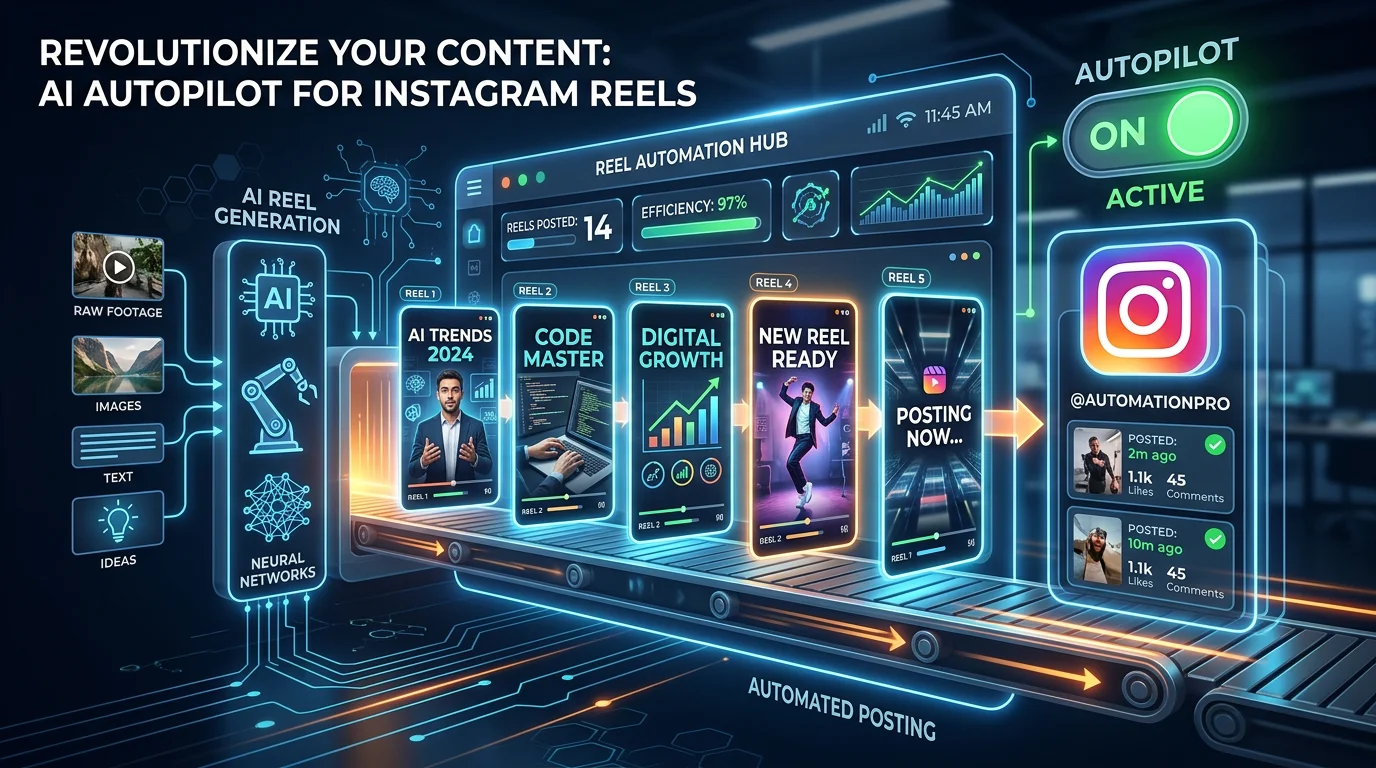
Create Faceless Videos on Autopilot
FlowShorts generates and posts AI videos to YouTube, TikTok & Instagram while you sleep.
Try FlowShorts Free →For each clip, check three things:
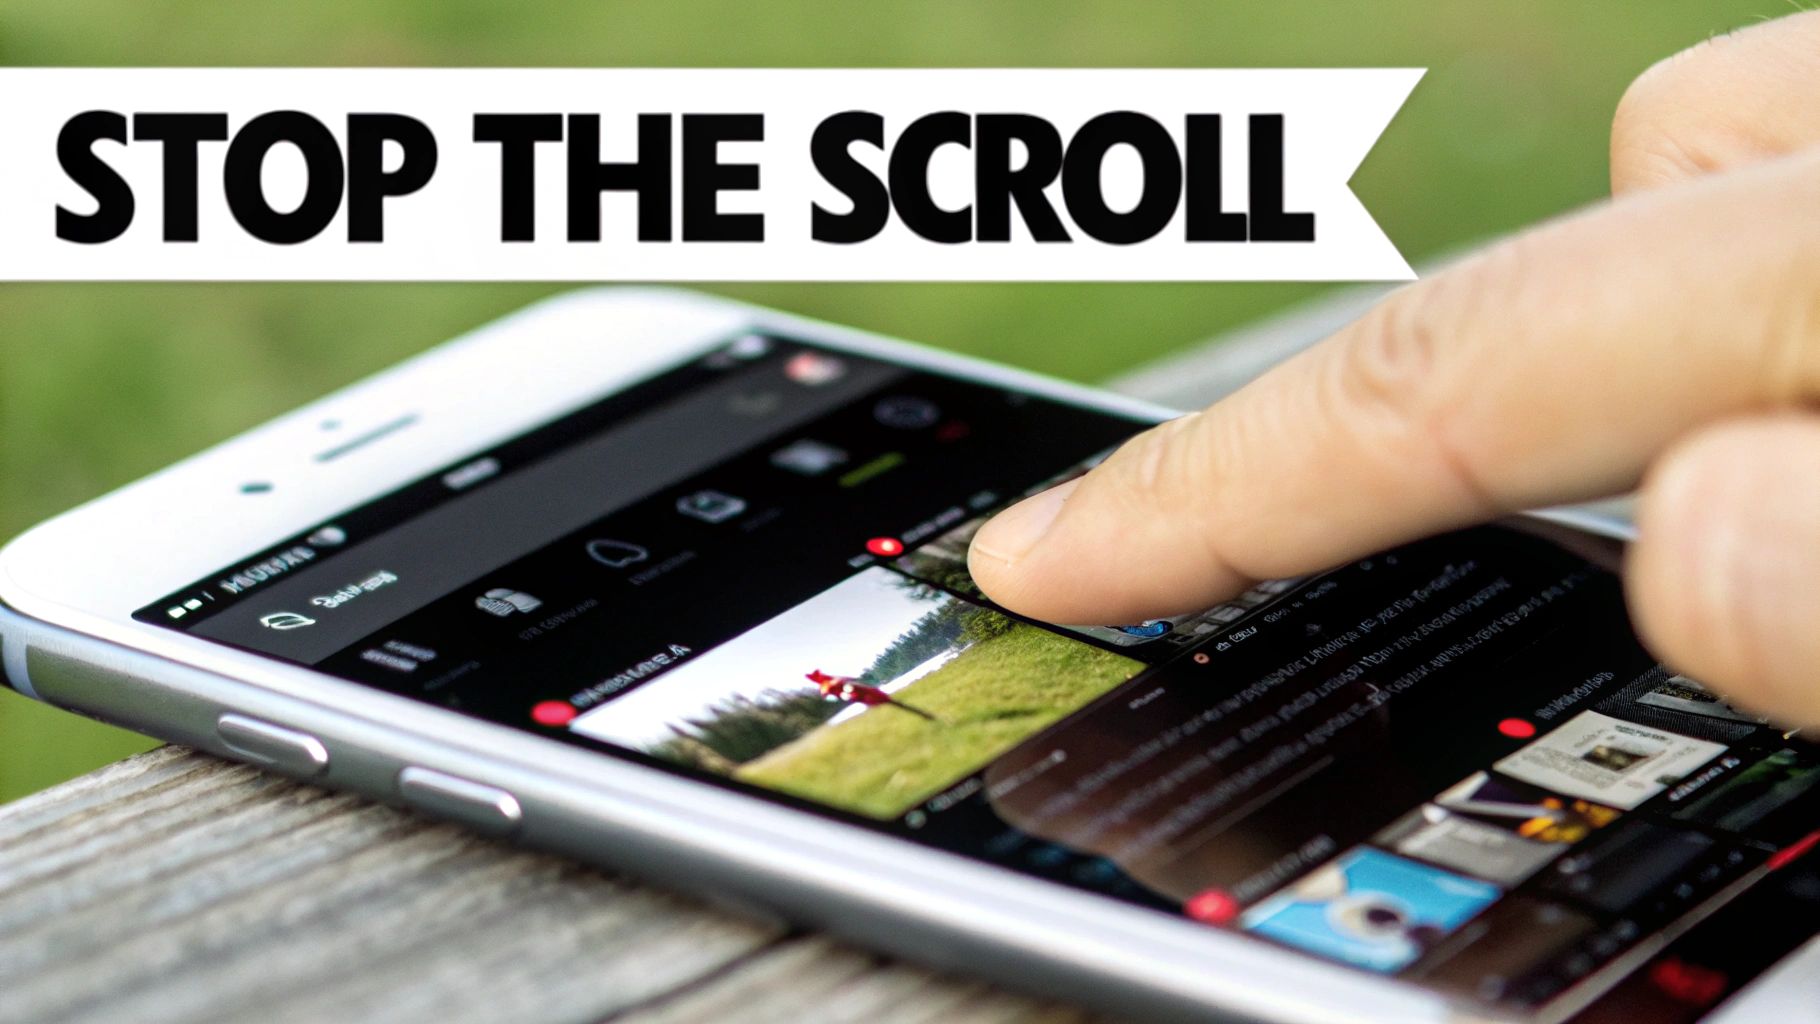
- Hook in the first 3 seconds: Does the opening line or visual immediately give the viewer a reason to keep watching?
- Fast payoff: Does the clip deliver its point quickly? Reels that take too long to build lose viewers.
- Standalone value: Does the clip make sense without having seen the full YouTube video?
A practical shortcut: check your YouTube Analytics retention graph. The peaks show which moments held attention best. Those are your strongest candidates for Reels.
Add Captions and Text Overlays
Add burned-in captions (open captions) to every clip. Most Instagram users scroll with sound off, so captions are how your message reaches them. Use bold, readable text styled with your brand fonts and colors.
Text overlays can also emphasize key points, pose questions, or add context that wasn't in the original narration. They keep the viewer's eye engaged and improve retention.
Step 4: Write Instagram-Native Captions and Hashtags
Your YouTube description won't work on Instagram. Instagram captions need to be shorter, more conversational, and oriented toward engagement.
Structure your caption like this:
- Hook (first line): A question, bold statement, or surprising fact. This is the only part visible before "...more" so it needs to earn the tap.
- One key takeaway: Add a tip, context, or insight that complements (not repeats) the video content.
- CTA: Ask viewers to save, share, or comment. "Save this for later" drives bookmarks (a strong algorithm signal). "Share with a friend who..." drives reach.
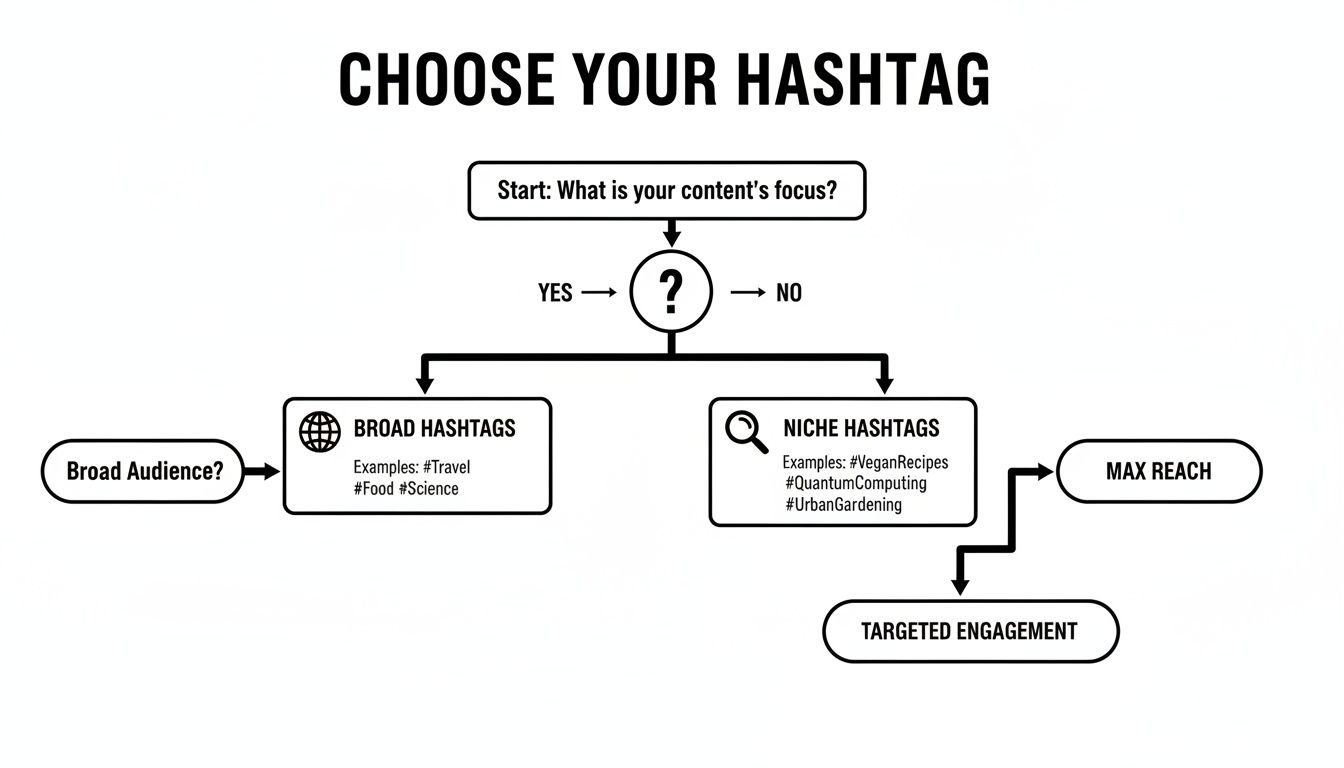
Hashtag Strategy
Use 8-15 hashtags, layered by reach:
- 1-2 broad tags (#videomarketing, #contentcreator) for maximum reach
- 3-5 niche tags (#investingforbeginners, #personalfinancetips) to reach your target audience
- 2-3 community tags (#financetok, #entrepreneurmindset) to tap into engaged sub-communities
Create Faceless Videos on Autopilot
FlowShorts generates and posts AI videos to YouTube, TikTok & Instagram while you sleep.
Try FlowShorts Free →Step 5: Choose Your Posting Method
| Method | Best For | Effort Per Post |
|---|---|---|
| Manual upload | Low volume, trend-chasing, using in-app features (stickers, trending audio) | High |
| Scheduler (Buffer, Later, Meta Business Suite) | Batch creators who want consistent posting without daily uploads | Medium (batched upfront) |
| Full automation (FlowShorts) | High volume, hands-off posting, scaling across multiple channels | Low (initial setup only) |
Most creators use a mix: automate the daily baseline content to grow on Instagram and manually post when jumping on a trend or sharing something personal.
Common Questions
Will I Get a Copyright Strike for Reposting My Own Video?
Not for the video itself. The issue is usually the audio. If your YouTube video uses a song that isn't licensed for Instagram, the platform may mute or remove your clip. To avoid this, either use royalty-free music from the start or strip the audio and add a trending Instagram track when you post the Reel.
What's the Best Length for an Instagram Reel?
Reels can be up to 90 seconds, but 15-30 seconds performs best for most creators. That's enough time for one clear takeaway without losing the viewer's attention. Use your YouTube retention graph to find the exact moments that held attention longest.
Do I Need Subtitles?
Yes. A large share of Instagram users watch with sound off. Burned-in captions ensure your message reaches them. Most editors (CapCut, Premiere, DaVinci) can auto-generate and style captions in a few clicks.
Can I Post the Same Video to Reels and Stories?
Yes, but keep in mind that Stories disappear after 24 hours and are limited to 60-second segments. Reels stay on your profile permanently and are discoverable through search and the Explore page. For evergreen content from YouTube, Reels is the better placement.
Related Guides
- Instagram Reels Length Limit: How Long Can Reels Be?
- How to Post on YouTube From Start to Finish
- How to Manage Multiple Social Media Accounts
- How to Automate Social Media Posts
Related: Download YouTube Shorts to Repost on Instagram
Free tools: Instagram Caption Generator · Instagram Reels Generator